
Download CapCut for PC – Latest Version Free

CM Security

Lookout

MacAfee
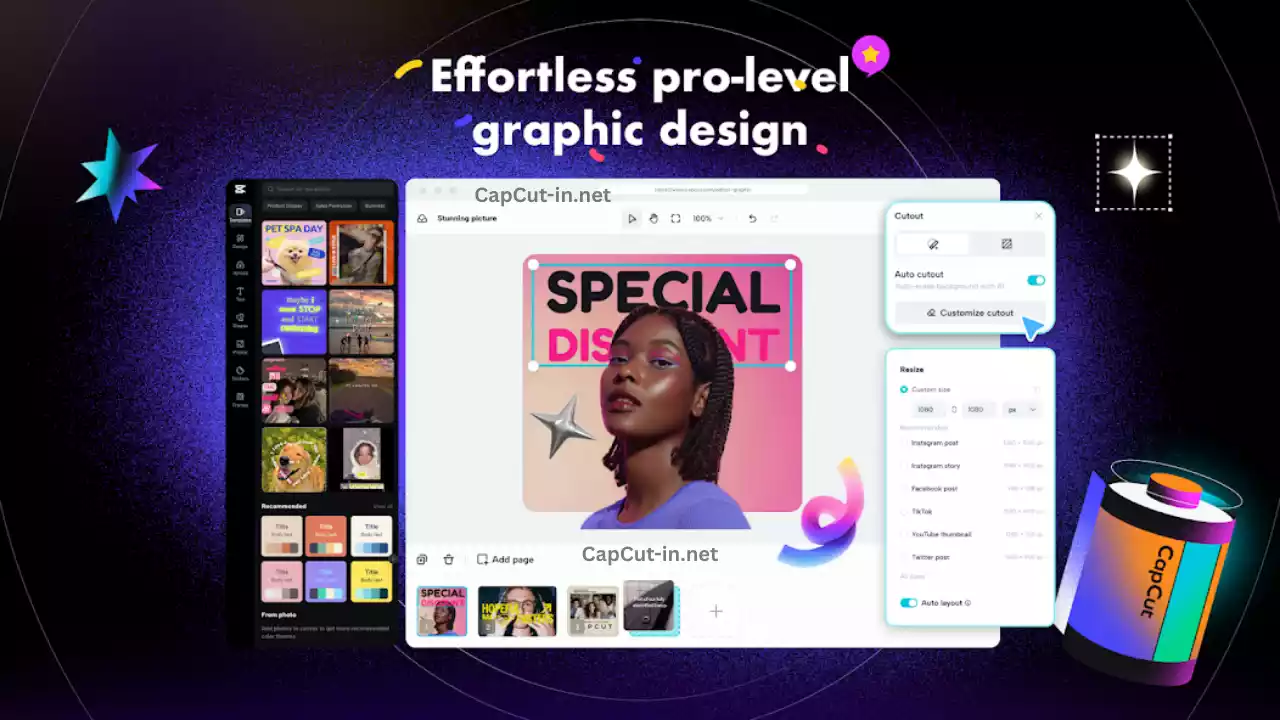
For years, CapCut dominated the mobile world as the go-to editor for TikTok and Instagram Reels. Creators loved its simplicity, speed, and massive library of trendy effects. But let’s be honest, sometimes editing on a 6-inch phone screen is limiting. You might struggle with precise cuts, or your phone might heat up when handling 4K footage. Recognizing this, ByteDance released CapCut for PC, a fully functional desktop version that brings the beloved mobile experience to the big screen.
CapCut for PC (Windows & Mac) is not just a larger version of the mobile app; it is a serious competitor to expensive software like Adobe Premiere Pro and Final Cut. It combines the ease of use of the mobile app with the power and precision of a desktop computer. Whether you are editing a 10-minute YouTube vlog, a professional business presentation, or a viral short, the PC version offers more stability, better shortcuts, and a multi-track timeline that lets your creativity flow freely. Best of all? It remains largely free to use.
This article explores everything you need to know about CapCut for PC in 2026. We’ll cover its standout features, system requirements, how it compares to the mobile version, and how to get the most out of it.
Key Features of CapCut for PC
The desktop version retains the soul of the mobile app but puts it in a professional body. Here are the standout features that make it a must-have for creators:
1. Multi-Track Professional Timeline
On mobile, you are often limited to a few layers before the screen gets cluttered. On PC, you get a sprawling, multi-track timeline. You can stack dozens of video, audio, text, and sticker tracks. This makes complex edits, like reaction videos with picture-in-picture, background music, sound effects, and voiceovers, incredibly easy to manage.
2. Keyboard Shortcuts (Hotkeys)
Speed is everything in editing. CapCut for PC supports industry-standard keyboard shortcuts. You can press Ctrl + B to split a clip, Ctrl + Z to undo, or create your own custom shortcuts. Once you master these, you can edit a video in half the time it takes on a phone.
3. Advanced Keyframe Animation
While mobile has keyframes, the PC interface allows for much more precision. You can expand the keyframe graph to smooth out animations (easing). This allows you to create professional motion graphics, like text that smoothly zooms in or images that slide across the screen with natural momentum.
4. AI-Powered Tools
The desktop version harnesses the processing power of your computer to run advanced AI tools smoothly:
- Auto Captions: Automatically transcribes speech to text in seconds with high accuracy.
- Video Stabilization: Turns shaky handheld footage into smooth, steady-cam shots.
- Vocal Isolation: Removes background noise (like wind or traffic) from your audio with one click.
5. 4K 60FPS Export with Smart HDR
PC hardware allows for higher-quality exports. You can render projects in stunning 4K resolution at 60 frames per second. The desktop version also supports “Smart HDR,” which enhances colors for modern displays, making your content look vibrant and professional.
System Requirements (Windows & Mac)
Before you download, it is important to know if your computer can handle the software. While CapCut is optimized well, video editing is demanding.
Minimum Requirements (For Basic 1080p Editing)
- Operating System: Windows 10/11 (64-bit) or macOS 10.14+
- Processor (CPU): Intel Core i3 (8th Gen) or AMD Ryzen 3000 series
- RAM: 8 GB
- Graphics (GPU): 2 GB VRAM (NVIDIA GT 630 or equivalent)
- Storage: 10 GB free space (SSD recommended)
Recommended Requirements (For Smooth 4K Editing)
- Operating System: Windows 11 or macOS 13+ (Ventura)
- Processor (CPU): Intel Core i7 (11th Gen) or AMD Ryzen 7 5000 series (or Apple M1/M2/M3 chip)
- RAM: 16 GB or 32 GB
- Graphics (GPU): 4 GB VRAM or higher (NVIDIA GTX 1060 / RTX 3060)
- Storage: 50 GB+ High-Speed SSD
Tip: If you have a low-end laptop, use the “Proxy Mode” in CapCut settings. This creates lower-quality copies of your video for editing to prevent lag, then switches back to high quality for the final export.
CapCut PC vs. CapCut Mobile: What’s Different?
| Feature | CapCut Mobile | CapCut PC (Desktop) |
| Interface | Vertical, Touch-based | Horizontal, Mouse & Keyboard |
| Precision | Good for rough cuts | Pixel-perfect frame accuracy |
| Shortcuts | No | Full Keyboard Support |
| Speed | Fast for short clips | Faster for long projects |
| Multitasking | Hard (small screen) | Easy (Drag & drop files) |
| Storage | Uses Phone Storage | Uses Hard Drive (TB of space) |
| Pricing | Free + Pro Sub | Free + Pro Sub (Separate) |
The Verdict: Use Mobile for quick TikTok trends or editing on the go. Use PC for YouTube videos, vlogs, gaming montages, or any project longer than 3 minutes.
Pros & Cons of CapCut Desktop
Pros
Cons
How to Get CapCut for PC (Official vs. Emulator)
There are two main ways to use CapCut on your computer.
Method 1: The Official Desktop App (Recommended)
- Go to the official CapCut website or the Microsoft Store / Mac App Store.
- Search for “CapCut Desktop”.
- Download and install the .exe (Windows) or .dmg (Mac) file.
- Log in with your TikTok, Google, or Facebook account.
- Benefit: Native performance, keyboard shortcuts, and better stability.
Method 2: The Emulator Method (For Free Pro Features)
Some users prefer using the CapCut Mod APK (Android version) on their PC to access premium features for free, which might be paid for on the desktop version.
- Download an Android Emulator like BlueStacks 5 or LDPlayer.
- Download the CapCut Mod APK from a trusted site like CapCut-in.Net.
- Install the APK inside the emulator.
- Benefit: Access to mobile-exclusive features and potential free “Pro” tools via the Mod.
- Downside: Slower performance and no keyboard shortcuts.